You know the old saying, “Measure twice, cut once”? Well my DIY saying is more like “Measure once, screw it up, cuss a bit, go back to Lowes-Home Depot, measure twice and cut once”. Over the past five years I’ve done a lot of DIY around my home, from plumbing to painting, changing out lock-sets and replacing lights. I’m pretty mechanically inclined so I’m usually not too afraid to tackle a home project but it’s not for everyone
If you’re looking at DIY projects in your home, first take stock of your own skills and willingness to do the work. And in the back of your head, think through the risk if you screw something up. If you’re working on a guest bathroom or bedroom that doesn’t get used much, who care? But if you’re talking about your main bathroom or kitchen, any mistakes will throw your life off for a bit.
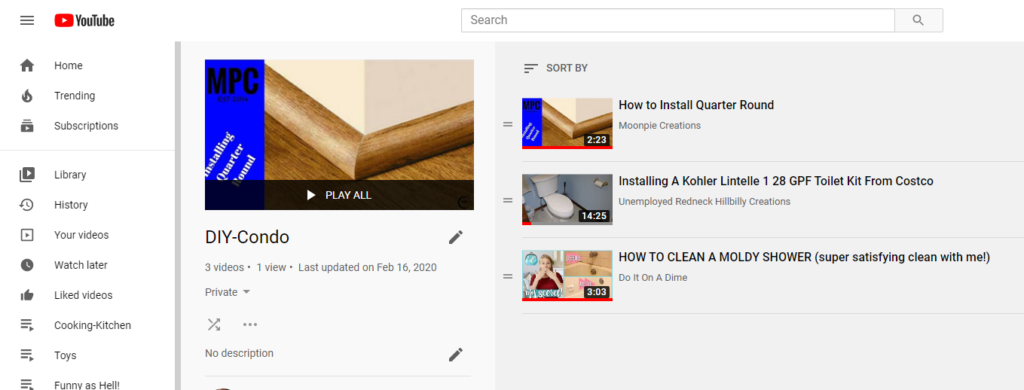
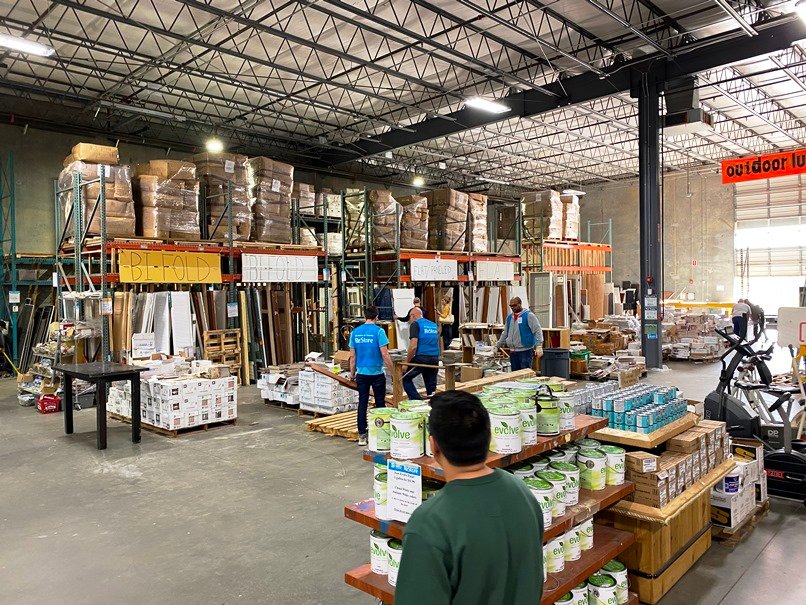
Next, review the process and get an understanding of what needs to be done from beginning to end. Google and YouTube are your friends here along with Home Depot and Lowes Home Improvement websites. These online resources should give you a ton of videos and How To’s to gauge whether or not you feel comfortable taking on the work. While these videos usually don’t tell the entire story, they should get you 80% of the way there and certainly give you an idea of what your odds for success are. Keep a bookmark folder for all the videos you find helpful because you don’t want to have to search for it again.
Oftentimes, DIY work and parts have really specific names and descriptions that they layperson will not know off-hand. So I usually start with a Google search on the basics and then try to narrow down over time, what the specific item or activity is needed. Thankfully Google is pretty good at interpreting what you want to do, although you may have to go pages into the search result to find what you want. Once you know the specifics around your project, you can search on YouTube and elsewhere to find the help videos
A lot of DIY work around the home will also have standards, basic consistent parts and measurements but they will often vary just a little bit to your custom situation. That’s what makes DIY work really tricky because your particular scenario will be just a little bit different than what they are covering on a How To video. You’d be shocked at how many variations there are to a sink plunger or drain cover or faucet. And you’ll have to adjust the instructions and guidance based on your home situation.
While you’re reviewing videos and help articles, take note of any special tools that are required. As you age, you tend to accumulate tools over time but if there’s a specialty tool that’s pretty expensive, I would think twice about working a project. Rug stretchers, nail guns, air compressors, etc. If you’re doing a one time project and need expensive equipment you might want to think twice about taking it on. And make sure you have a reasonably stocked tool bag or kit with all the basics: screwdrivers, pliers, wrenches, wire-cutters, utility knife, electrical tape, plumbers putty, hammer, drill, bits, flashlight, work gloves and more.
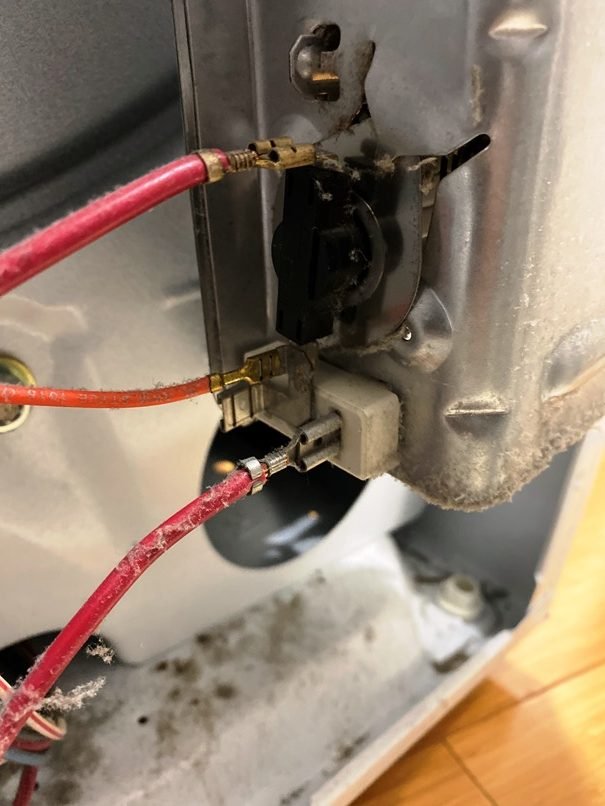
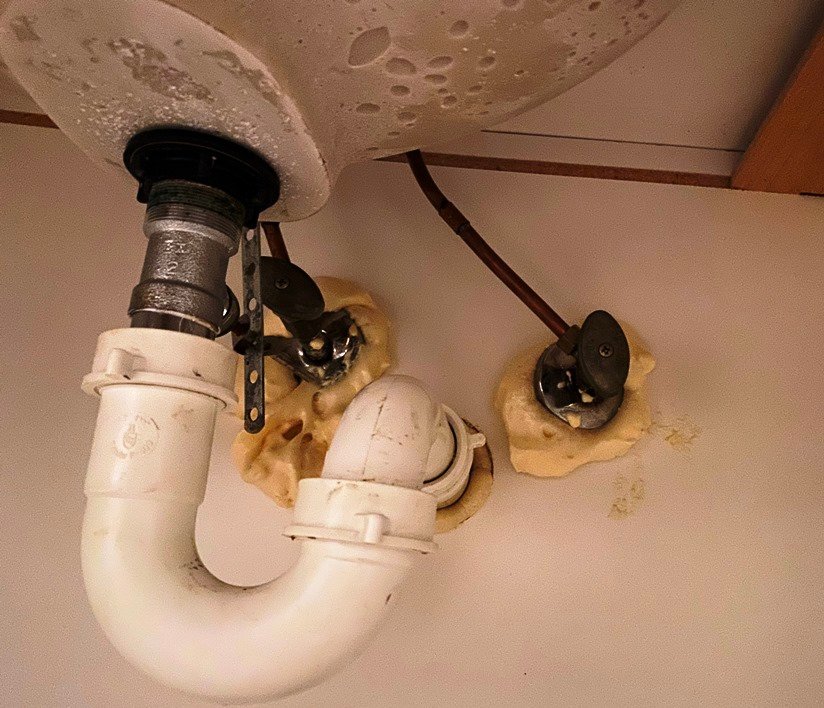
Two super important tools are your smartphone camera and tape measure. Take pictures of your project before, during the work and after to help document your work. It’ll help you record your progress if you repeat the work. You’ll also need detailed measurements for the size of any particular fixture and specific measurements in your installation to DIY your work. I have 3 or so tape measures including one in the car. So I’d suggest maybe getting a three-pack from Amazon. Photographing wiring is crucial because once you pull things apart, you will need the photo to bring everything back to where it was. Photographs from the hardware store will also help you decide if a replacement part will work or if it matches what you have at home. Thankfully most online stores will have detailed pictures of replacement parts and hardware so you can do a visual comparison just in case.
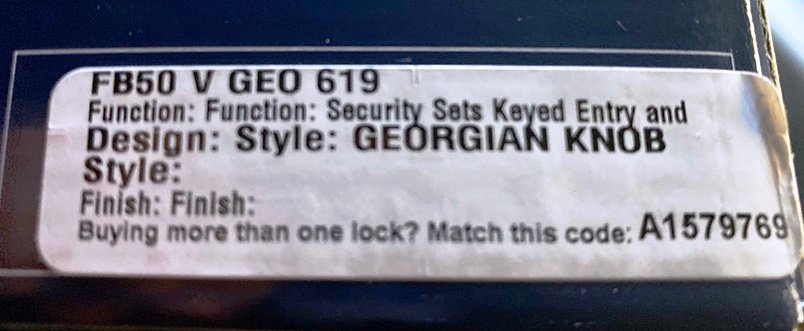
Speaking of smartphone cameras, if you’re doing work on appliances, take a picture of the manufacturer sticker or plate. You will likely need a part number or serial number to identify your appliance and any replacement parts. Go online and you’ll find support documents that will show you an exploded view and/or maintenance parts list. From there you can either Google the specific part number or find it on Amazon to purchase a replacement. Note that many appliances are manufactured as families (Frigidaire = Whirlpool for example) and one set of replacement parts will be useful across multiple brands. You might want to keep a folder of part number and serial number pictures you have in your home.
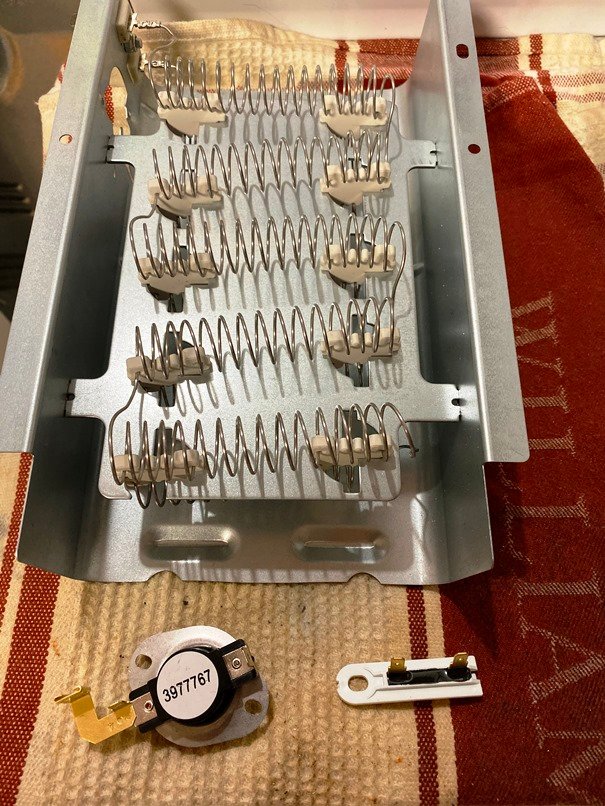
As you disassemble things, keep the parts-screws-pieces in a plastic container or maybe on a towel. You’re less likely to lose a piece and you may be able to lay pieces out in a way that shows you how things were taken apart. Reference that smartphone picture when you need to put things back together.
And the most important thing is to try and have fun while you’re doing your DIY project! Assume it’ll take 2 or 3 times as long as expected to give yourself some mental breathing room. Take on smaller projects to build your confidence and feel like you’ve got a handle on your capabilities before jumping into more serious projects. And certainly, keep your local handy-man on speed-dial just in case…